Overview
Assets are the devices that you support and/or repair for your clients. You can track specific information about Asset devices, and track an ongoing repair history.
What it Does
•Track work history of a device.
•Store hardware configurations or any info you need for a specific product
•Print labels for devices to quickly access this info
•Quickly open tickets from the Asset page to start a repair
Assets Tab
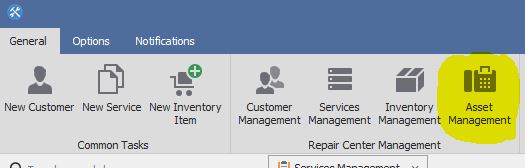
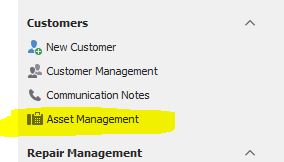
You can find all of your Assets by clicking on to the Asset Management Button on the Ribbon Menu on top or by heading to the navigation menu on the left side > Customer Group > Asset Management. Alternatively, you can also view Assets on a Customer's Detail page for a specific customer.
Creating a new Asset
To create a new Asset, Open Asset Management as shown above and click the New Asset button on the top left menu.
Now you are on a dialog that allows you to create your new asset.
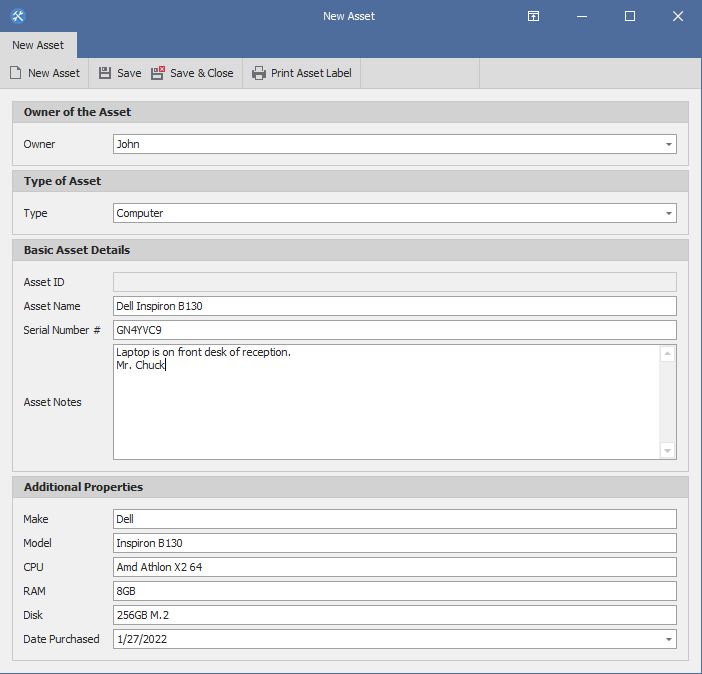
The first thing you have to select is the Asset Owner. This is optional field as you can leave it empty and assign the Asset Owner later.
Next you have to select the Type of Asset you want to store. By default OpenRMA Software includes 2 types of Assets. Computers and Phones. You can add any other type of Asset you need from the Settings --> Asset Types.
Next you enter an Asset Name and the Serial Number of Asset. These are the Mandatory Fields when you creating a new Asset.
On the last group of the screen there are the Additional Properties. These are attributes that belong to this specific Asset Type.
You can delete or add your own asset Attributes from the Settings --> Asset Types.
Next click the Save button on the menu and optionally if you need click the Print Asset Label so you can print the Asset sticker for your device so you are able to scan it later for your quick reference.
Managing Assets
click Asset Management Button on the Ribbon Menu on top or by heading to the navigation menu on the left side > Customer Group > Asset Management. Alternatively, you can also view Assets on a Customer's Detail page for a specific customer.
From Asset Management Screen you can select an asset and you will see the Asset Information Screen.
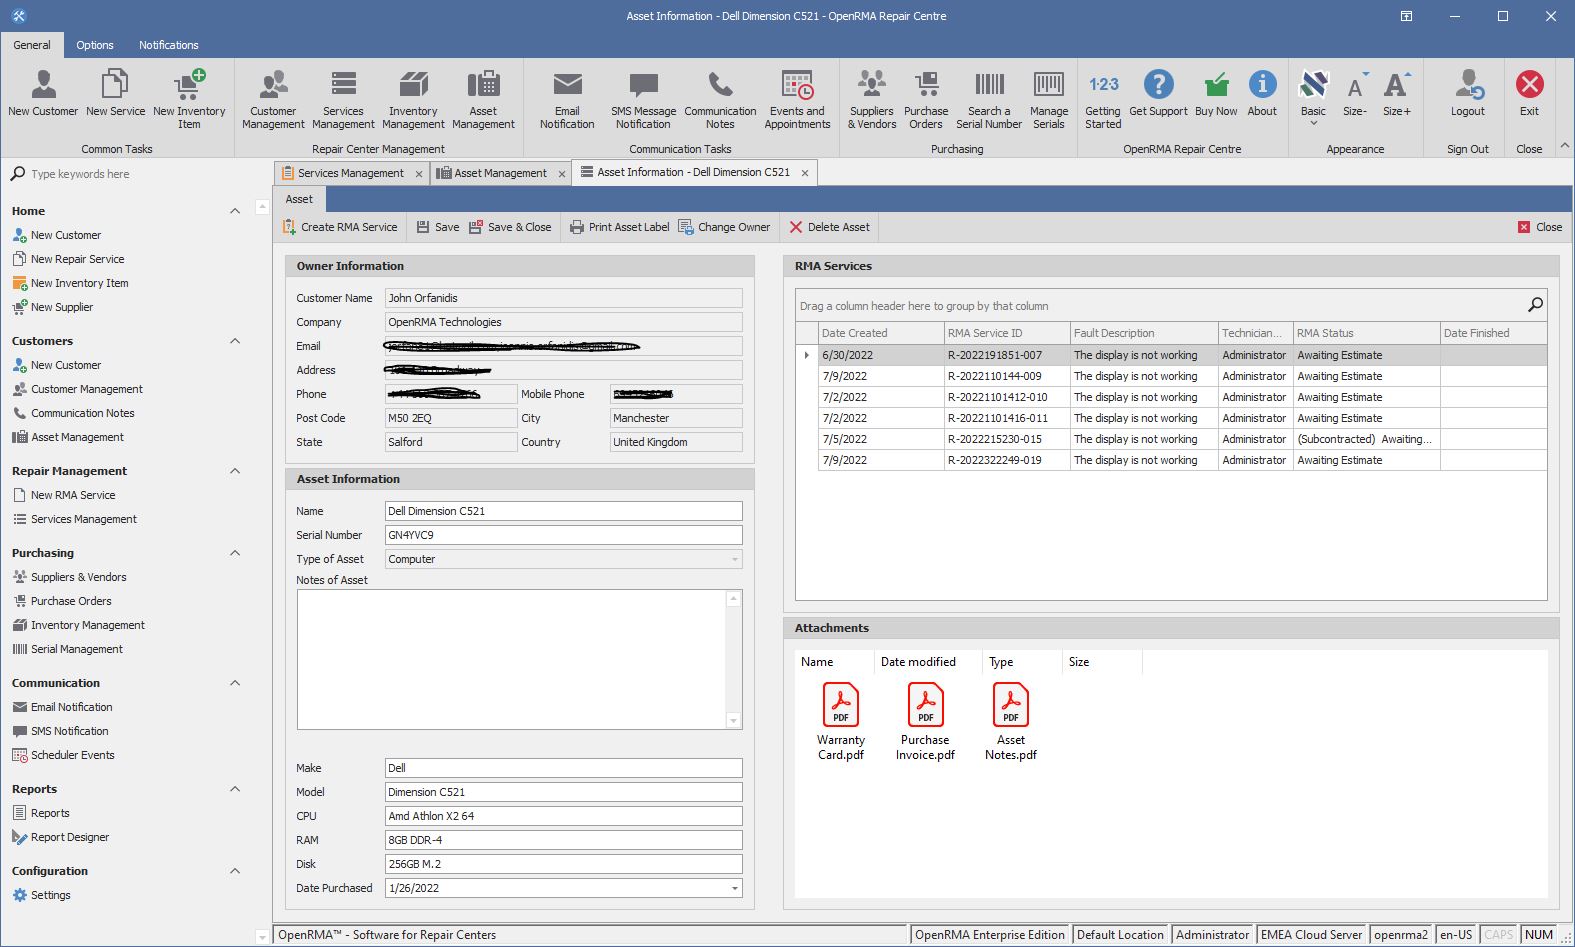
The asset information window has all the details you need to manage your Asset. You can update the asset details. Name, serial and attributes. You can directly create a new repair for this asset. All existing repairs are seeing on the right upper side, so you can double click a repair and you go directly to the service tab to manage the specific repair. Finally you can attach any type of document for the Asset. Just drag and drop the document file you want to the Attachments area on the right bottom side.
Read Next: Using Inventory