How to configure OpenRMA Software to work on your own local or local network database.
By default, OpenRMA Repair Centre software works with a cloud demo database shared with other users trying our software.
After you purchase and activate the software, you may want to work with your own private database, to store your customers, services and other data.
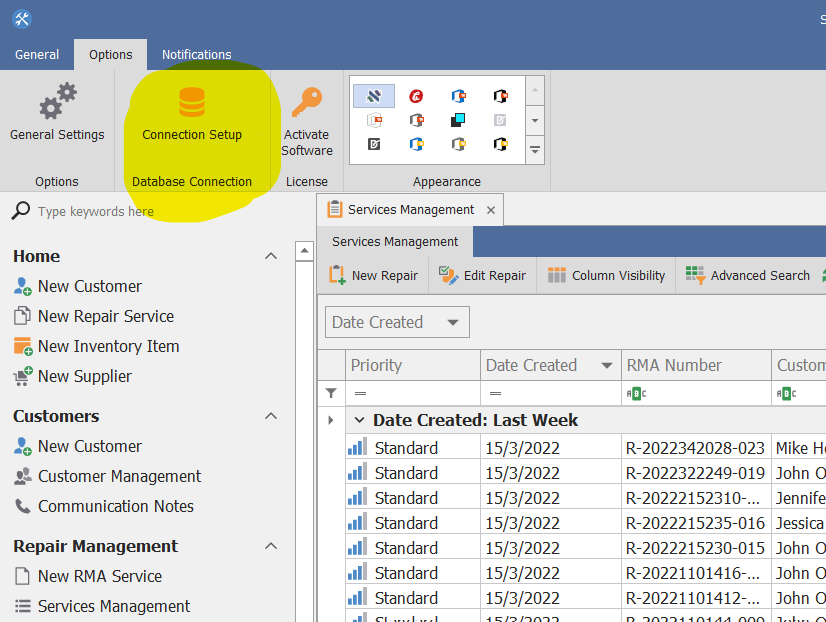
To do so, Select Options TAB from Main Menu and press Connection Setup Wizard as shown in the picture bellow.
Next you are presented with an easy to use connection Wizard that will guide you in 2 simple steps to connect with your local or cloud database server. Press Next to continue.
You have 3 options here.
A) Connect OpenRMA Software with our Demo database (EU or US Region) based on your location for speed loading the data. This option is usefull when you try or demonstrate the software as it contains sample data to evaluate the features of the program.
B) Connect OpenRMA Software with your own local or local network database. (Most people use this option)
C) Connect OpenRMA Software with our Cloud database option that you purchased from our website.
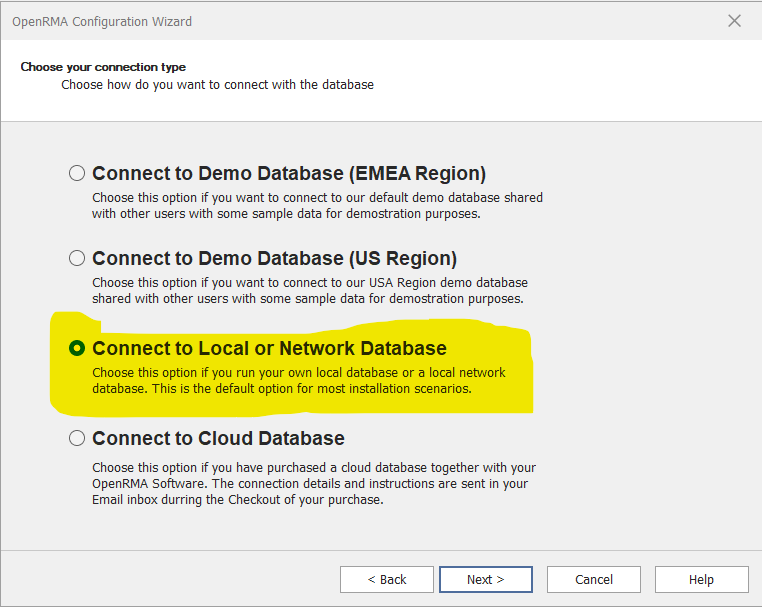
The most Common scenario is to connect OpenRMA Software with your local computer database server that is installed by default with the installation setup program or to a local network computer that act as a 'server' or 'Main Computer'.
If this is your case scenario check the third radio button "Connect to Local or Network Database" and click next.
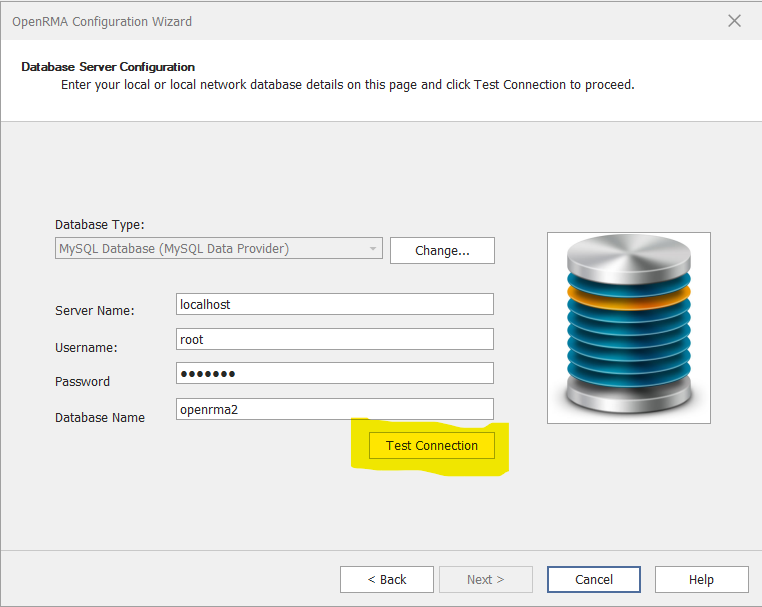
Now the wizard asks for your database server details. if the database is on your local computer then these default settings will do the work for you. Click Test Connection button as shown in the picture. If the connection details are correct, then the Next button will be enabled and will be able to finish the connection wizard.
Now the wizard asks for your database server details.
If the database is on your local computer then the default settings will be sufficient to proceed.
Click Test Connection button as shown in the picture.
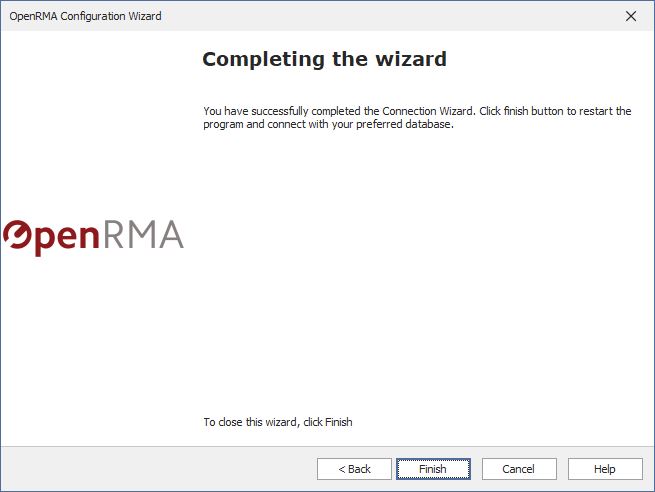
If the connection details are correct, the Wizard will Create the Database for you and the Next button will be enabled and will be able to finish the connection wizard. The program will restart and the connection with your database will be enabled so you can start entering your Data (customers, vendors, repairs etc.)
If the connection details are not correct you need to adjust the settings with your installed Database Server details.
In case you are using a main database server on a networked environment and many other computers will connect to this database server computer, you need to enter your Main Computer-Name or IP Address in the Server name field, the username and the password of the database.
(The default installation of OpenRMA on a workstation or server uses the user 'root' and password 'openrma'. The default database name is 'openrma2').
If the connection details are correct, the Wizard will Create the Database for you and the Next button will be enabled and will be able to finish the connection wizard. The program will restart and the connection with your database will be enabled so you can start entering your Data (customers, vendors, repairs etc.)